
 (1)")
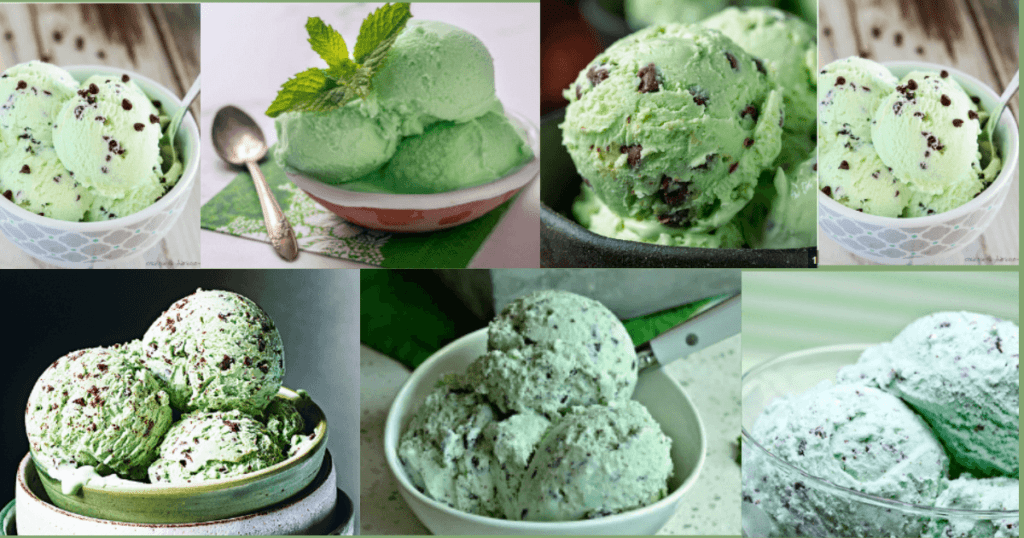
Mint Ice Cream Easily At Home
- 10 minutes for preparation
- Cook 10 minutes
- 10 hours of chill
- 10 hours, 20 minutes total
- servings:8
The flavour of this mint ice cream is exactly like that of a shamrock shake. For aesthetic purposes, the recipe calls for green food colouring, but purists can just leave it out.
Before beginning the process of making homemade ice cream, make sure you have read and understood the manufacturer’s instructions and suggestions, regardless of whether you are using a high-end counter-top machine with a self-contained freezer bowl, an old-fashioned hand-crank ice cream maker surrounded by an ice and salt mixture, or a motorised appliance.
Ingredients
Mint Ice Cream
- two glasses of milk
- Two big eggs
- One cup of sugar
- half a cup of light corn syrup
- Two cups of heavy cream
- half a teaspoon of extract from mint
- Twenty-four drops of green food colouring
- Fresh sprigs of mint, to decorate
Steps To Make It
Mint Ice Cream
1. Gather the ingredients
2. Over simmering water, place the milk on the top of a double boiler. Just warm enough to start forming bubbles in the milk.
3. Meanwhile, whisk the eggs, sugar, and light corn syrup in a medium-sized bowl.
4. Stirring continuously, slowly add the egg mixture to the heated milk. Cook, stirring, over the simmering water for 5 minutes, or until thickened and custard-like in consistency.
5. Take the custard off the hob. Add the green food colouring, mint extract, and heavy cream and stir. Let it cool to room temperature.
6. Transfer the custard into a sealed receptacle and let it rest in the fridge for a minimum of 8 hours before stirring.
7. When the ice cream is ready to be made, churn it as directed by the maker.
8. Once the ice cream has churned, spoon it into a freezer-safe container. Freeze for at least two to four hours, or until set.
9.If preferred, top the ice cream with fresh mint after scooping it into serving cups.
Read also: How To Make Neapolitan Ice Cream
Tips And Tricks
- The majority of home-use ice cream machines include bowls that must be placed in the freezer for an entire night before churning the ice cream. The walls of these bowls are double-insulated, with coolants positioned between them.
- When the time comes to churn the ice cream, you take the bowl out of the freezer, set it up with the dasher, lock it in place, and pour in the prepared ice cream mixture. After that, the motor is turned on, and the churning starts.
- Churning and ripening are the two steps involved in freezing handmade ice cream. The cold custard base will become looser and more soft-serve-like once it has been churned. The ice cream now needs to go through a process called ripening to reach a scoopable consistency.
- Once the product has ripened, the flavour becomes more concentrated, and it melts more slowly. Transfer the churned ice cream into a freezer-safe, airtight container and place it in the freezer for a minimum of 2–4 hours or even overnight. The wait will be worthwhile!
Nutrition Facts (per serving)
409 24 46 5
Calories Fat Carbs Protein
Read more: How To Make Healthy Banana Chocolate Ice Cream At Home